RAPPEL
Search
Close this search box.

SURF FOILING

CATEGORIES

Pure – Monobloc

£1,019.00£1,139.00

Pure – Monobloc

£1,019.00£1,139.00

Getting into Surf Foiling: Everything You Need to Know

Surf Foiling definitely captivates your imagination, and it’s true that it may seem a bit like science fiction, but it’s indeed a reality. It provides sensations that are simply mind-blowing! Surf Foiling emerged in the 2000s with notable figures such as Laird Hamilton, Dave Kalama, and Paolo Rista. Initially, this practice involved simply flying above the water while being towed. In 2016, Kai Lenny sparked a surge in participants, propelling the sport to new horizons. Hawaiian, Australian, Californian, and Brazilian surfers quickly embraced this new way of surfing, significantly raising the bar. Surf Foiling gradually spread across Europe, particularly in France. The advantages of foiling are numerous: it allows for increased sessions, discovering new spots, and experiencing different sensations. In this article, we will explore the benefits of diving into this practice, how surf foils work, how to choose the right equipment, and various tutorials featuring the Lost In The Swell team.

Why Should You Get into Surf Foiling?

Surfing in All Conditions

The advantage of surf foiling is being able to ride even in very small waves. With just a push, you can lift yourself up and gain altitude. There are sessions where you wouldn’t normally go in the water due to the lack of waves or wind. With surf foiling, you can still go out and enjoy yourself. You’ll be able to save numerous sessions. As surfers, we all know those choppy conditions that ruin a session… With surf foiling, you can still ride and have fun.

Feeling the Ocean

It may sound a bit philosophical, but it’s truly the reality. A portion of your foil is submerged in the water, and you will feel the undulation beneath the surface thanks to it. This is something we don’t directly feel when we’re on a regular surfboard. It’s truly a feeling, a sensation that is almost indescribable but incredible. It allows you to experience the energy that is happening beneath the wave.

Surfing Infinitely

Today, when we go for a surf session, it often involves two hours of session for 2-3 minutes of actual ride. The advantage of surf foiling is that you can catch the first wave, pump back out using the dynamic pumping effect, go for a second ride, and continue in this manner, creating a cycle. The only limiting factor will be your cardio. You’ll be able to link waves together and progress rapidly.

Progressing in Other Disciplines

Finally, one of the additional advantages of practicing surf foiling is its complementarity. Just like skateboarding and surfing, surf foiling complements many other water sports such as kite foiling or wing foiling. Why? Taking wing foiling as an example, you will engage in free flying. Surf foiling will teach you how to position yourself on the board, play with foot placement, and consequently manipulate the pumping effect.

How does surf foiling work?

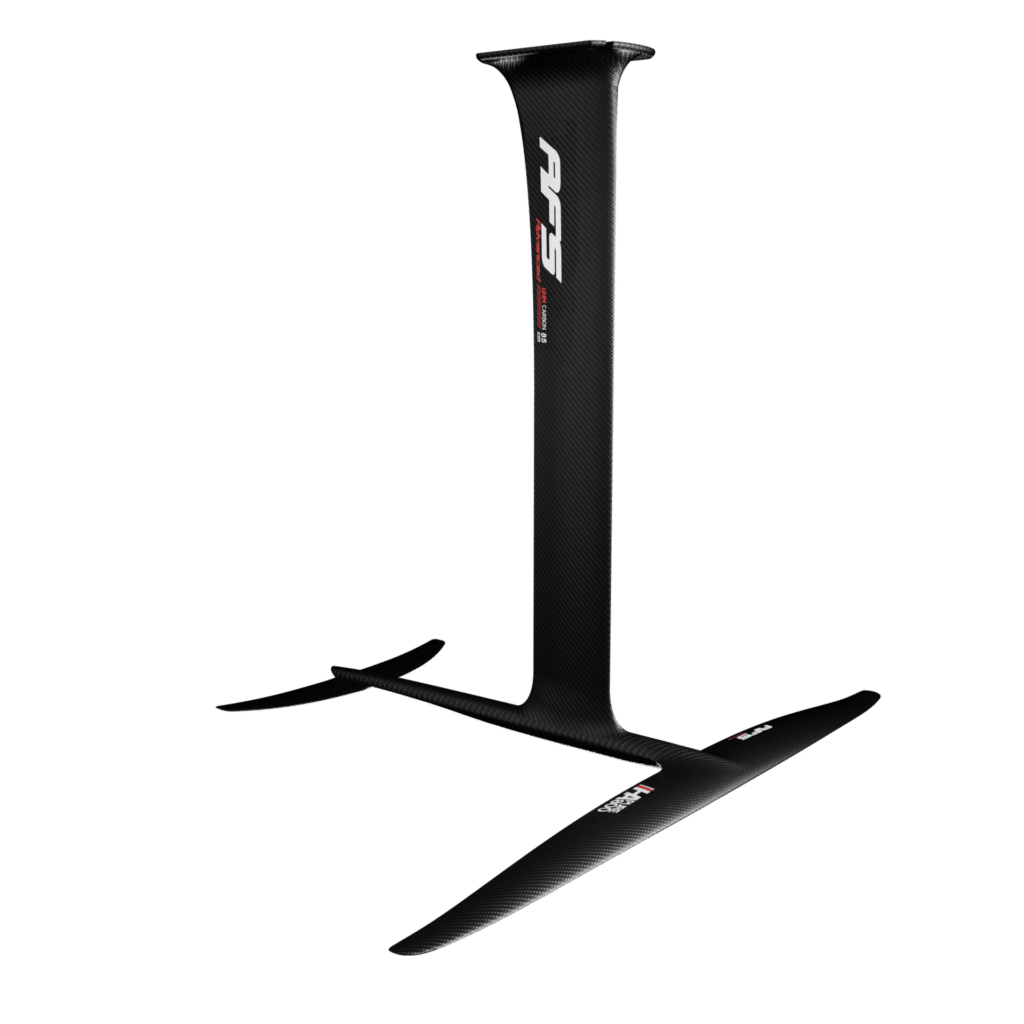
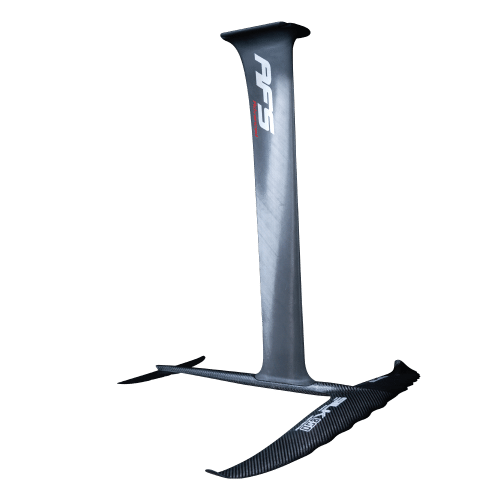
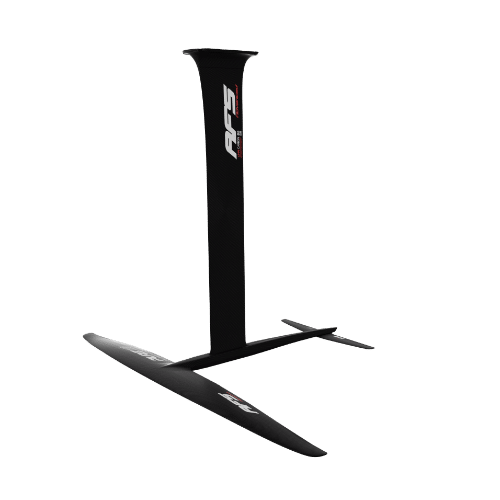
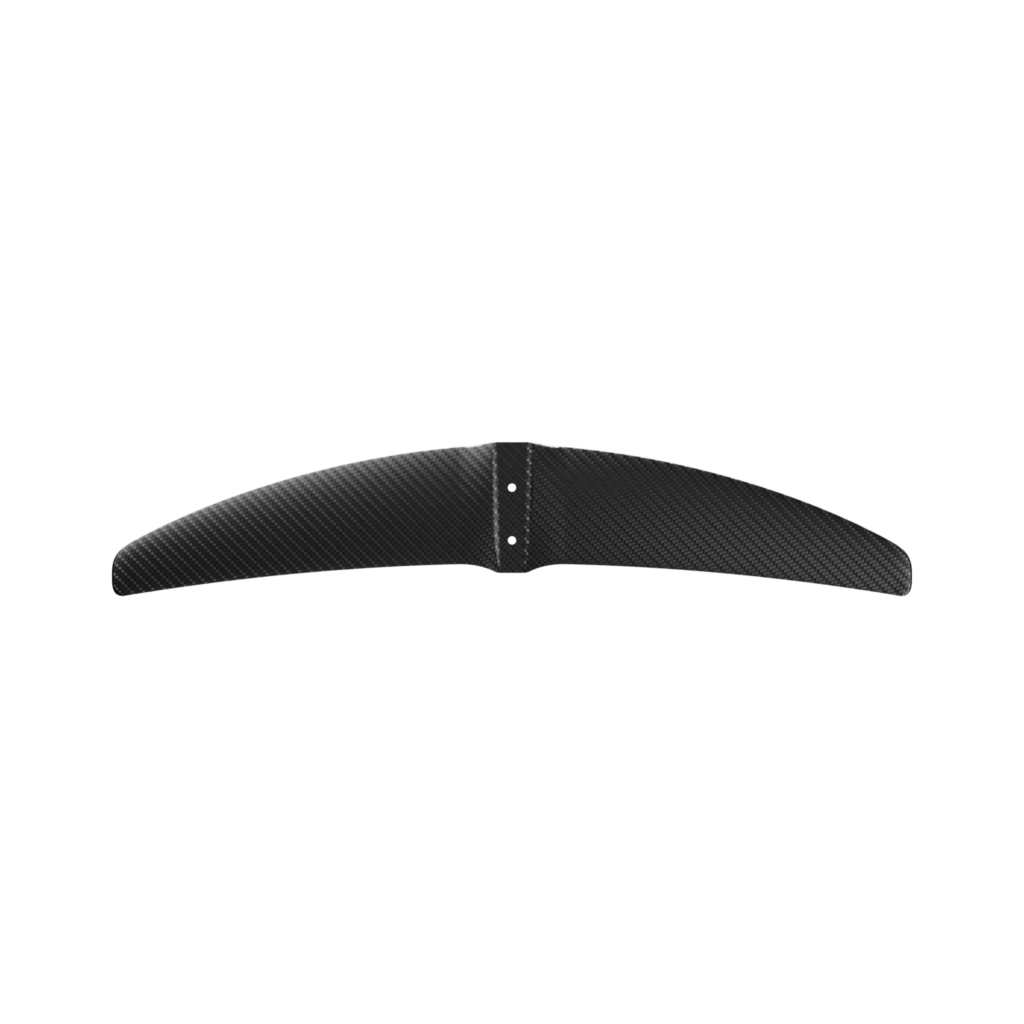
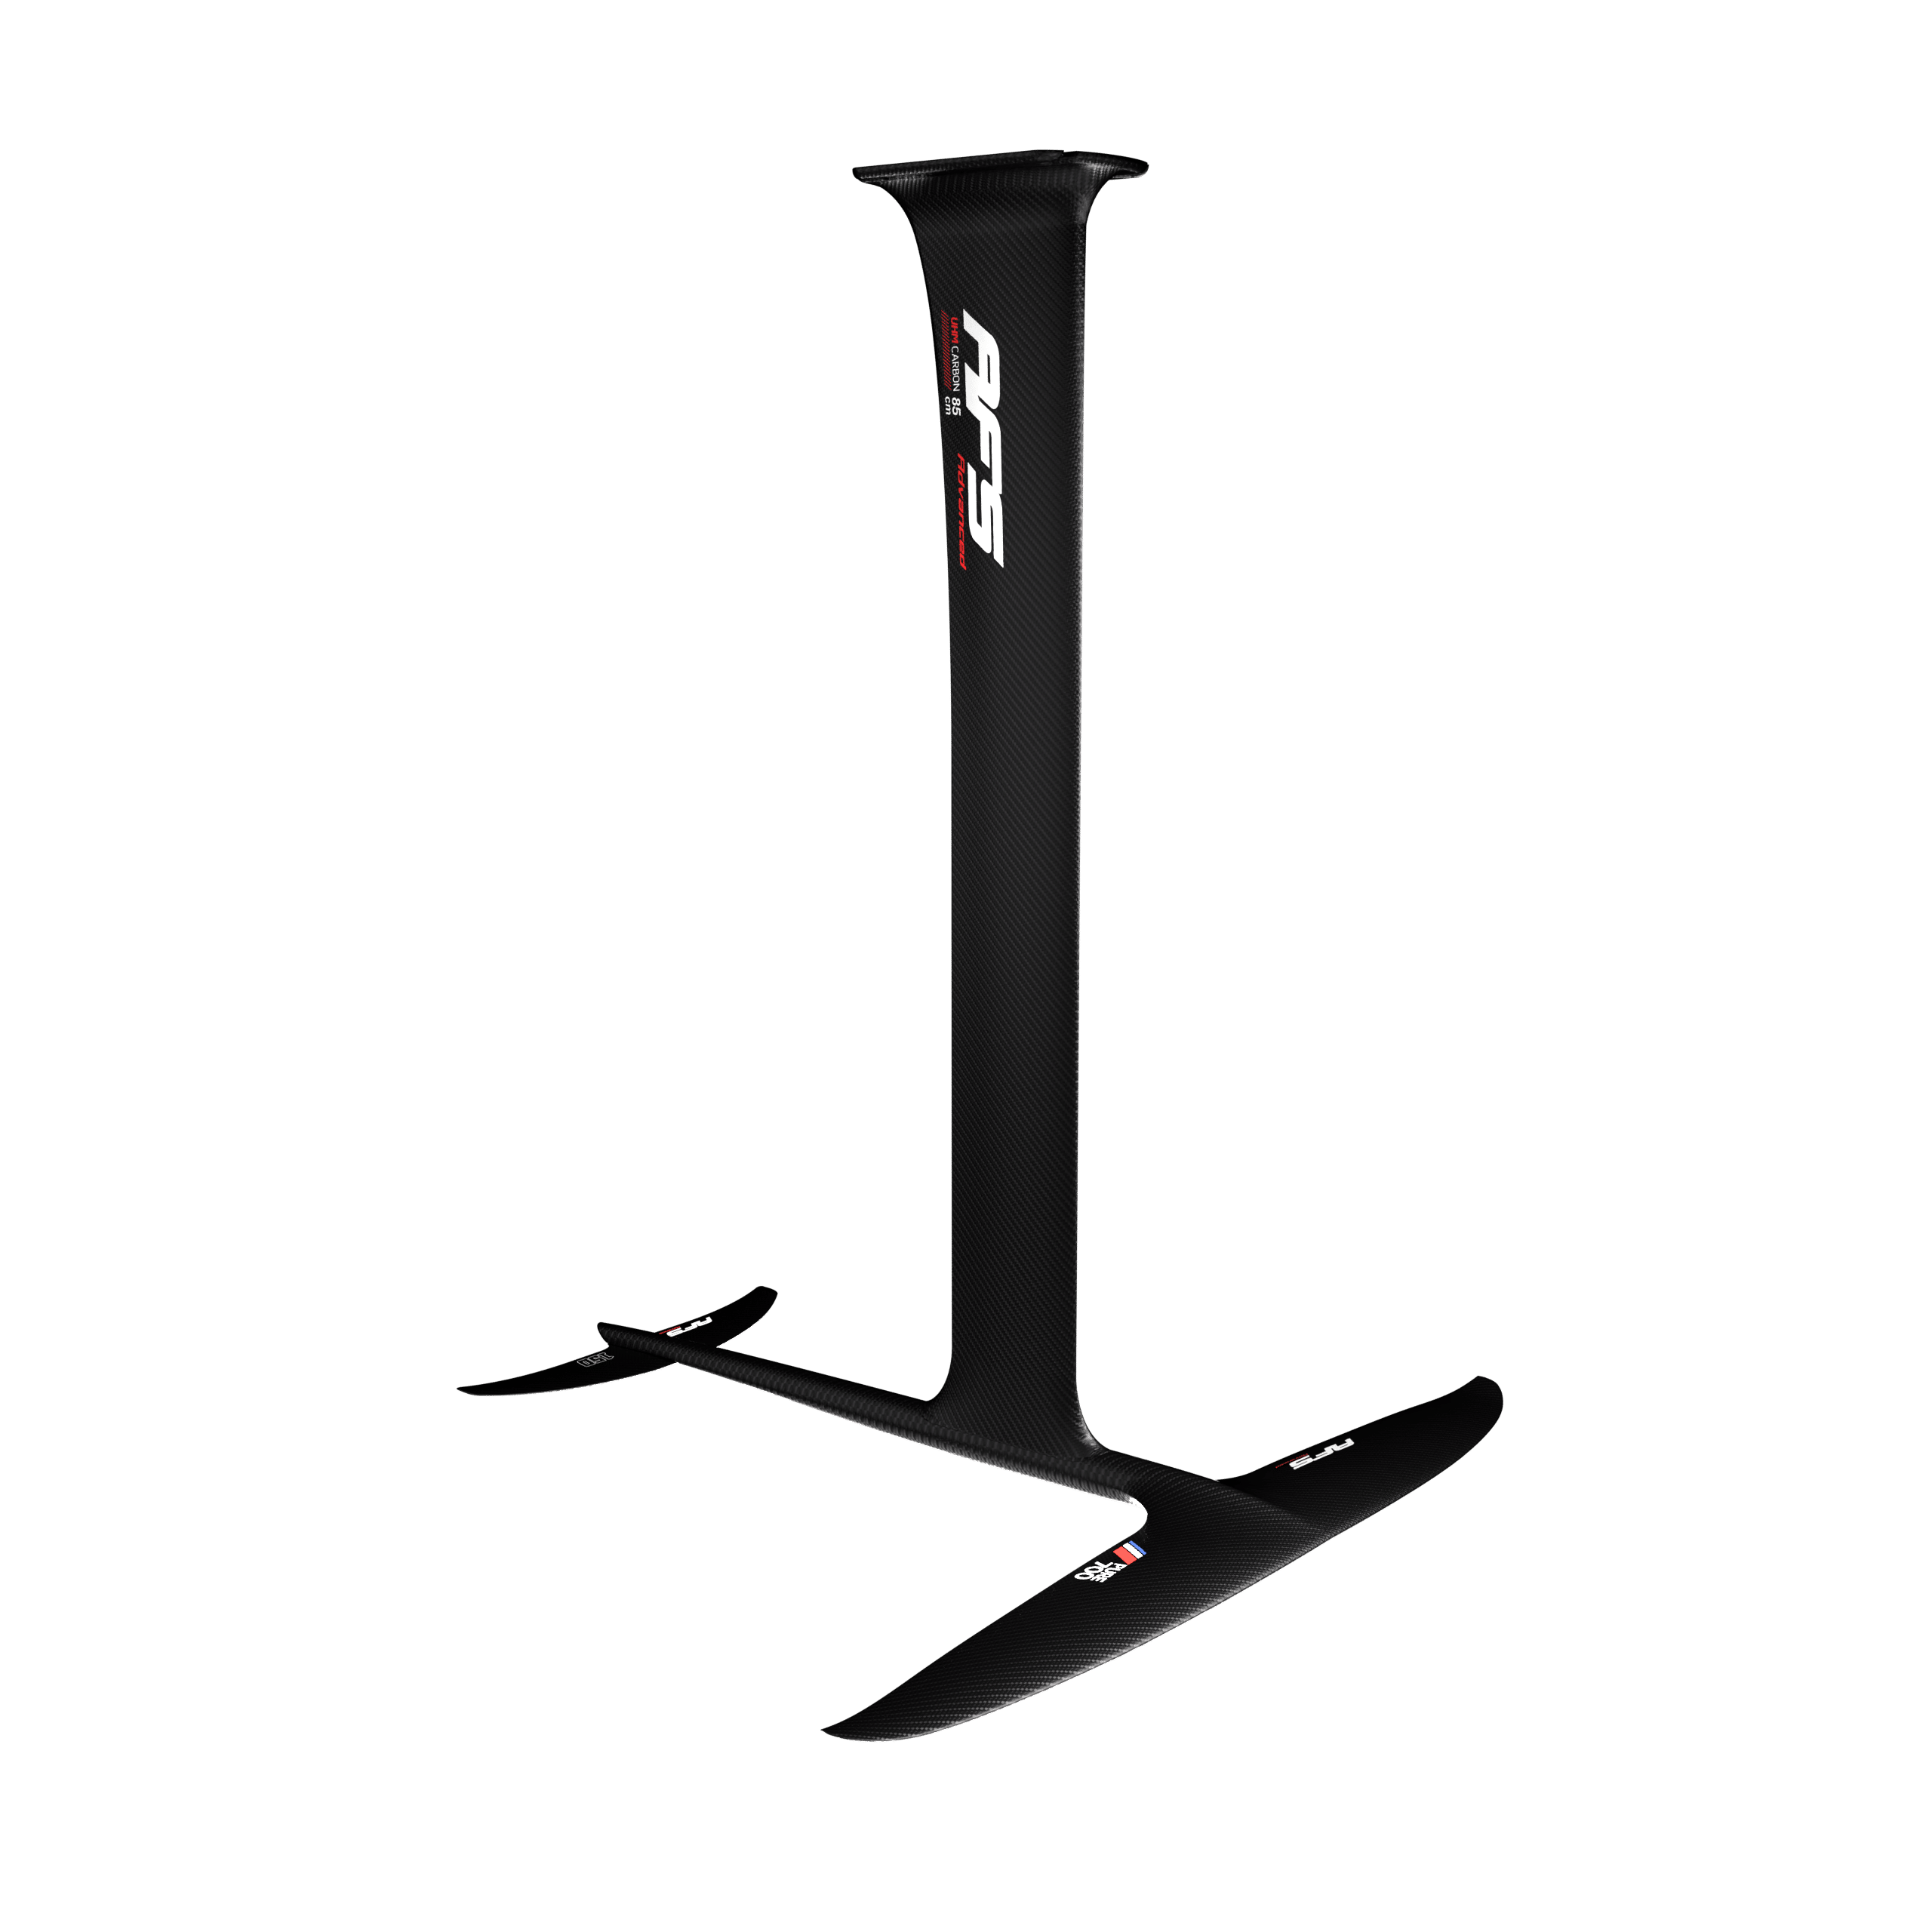
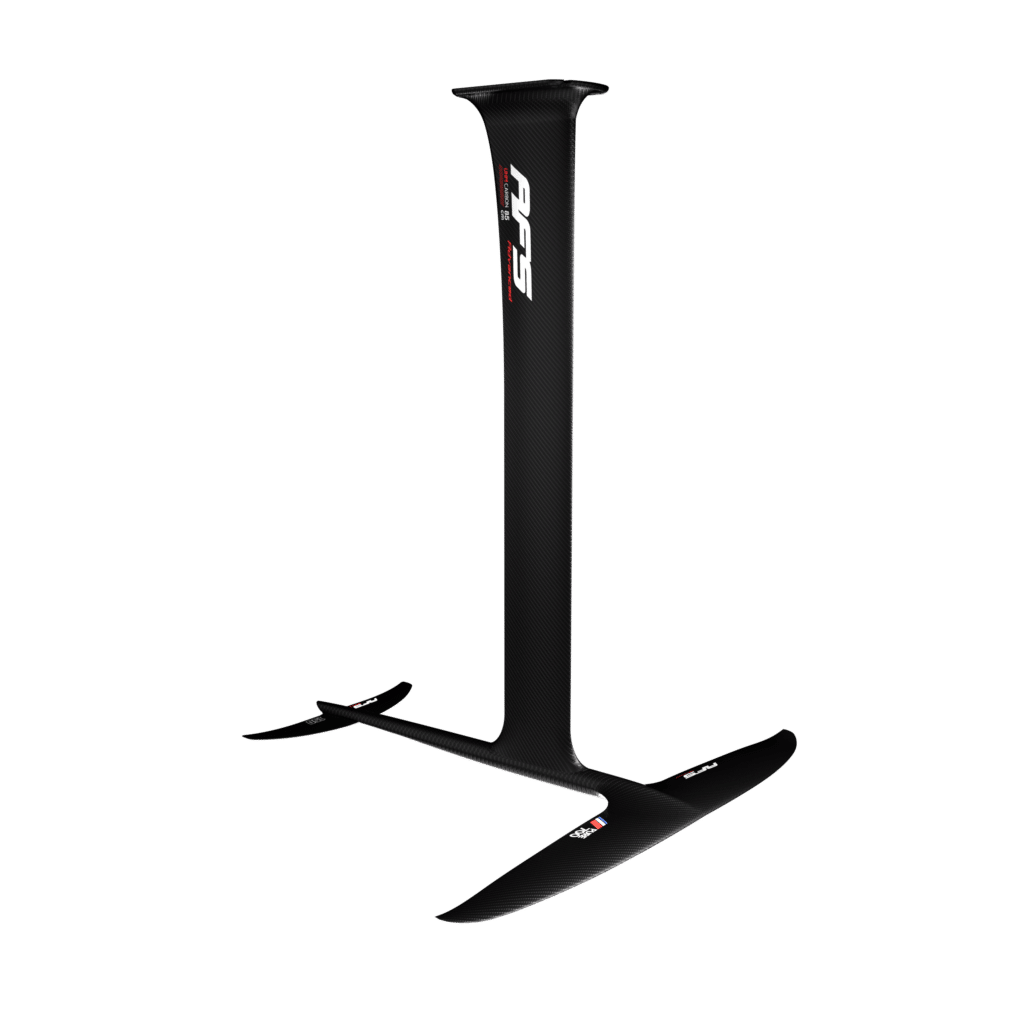
To operate a hydrofoil, you must first gain speed on the water using a propulsive force (wing in wingfoil, paddle in SUP foil, pumping in downwind and surf foil). Once you have reached a certain speed, you can tilt your board by pressing on your rear foot to create an angle of attack on the front wing, which will start generating lift. This phenomenon will lift you above the water. That’s how a foil works.

Once you’re in the air, balance is achieved through your movements forward or backward. If you go too high, simply shift your weight forward to bring the foil back down. If you don’t have enough height, you do the opposite by putting weight on the rear leg.

It takes a bit of practice in the beginning to maintain stable flight, but once you understand it, it’s an incredible sensation guaranteed.

How to get started with surf foiling?

For the take-off in surf foiling, we tend to rely on surfing reflexes, which means angling the board sideways. Unfortunately, this doesn’t work in surf foiling. What we recommend is focusing on the take-off by catching a wave facing the beach and perpendicular to the swell. In the beginning, you can even start by riding the whitewater. The foil will then try to lift off like an airplane wing. When performing your take-off, to straighten up, you’ll need to stand up with your front foot and maybe even exaggerate by placing it more forward than usual. You’re right in the propulsive force, so this will generate maximum lift.

Having a different stance than the usual surfer is normal. During the early stages, having your front foot wider apart than normal is common and will allow you to have better control over your foil.

What surf foil is recommended for beginners?

The foil is composed of three parts: the front wing, the stabilizer, and the TBAR, which includes the fuselage and mast.

The Front Wing

To start in surf foiling, it is advisable to choose a foil that maximizes control. It is recommended to begin with a foil that has a front wing size of around 1000 cm2. The stabilizers can also be of medium size to start with and can be reduced gradually as your skill level improves. The Silk range from AFS is ideal for this purpose.

We also recommend starting surf foiling with front wings that have a thick profile, as they are more forgiving of weight distribution errors and provide more lift. As you gain experience, you can transition to wings with a thinner profile and higher aspect ratio for increased acceleration, glide, and dynamic performance.

The Mast

The size of the mast will primarily depend on the water depth. For surfing a shore break, a smaller mast is preferred. On the other hand, for surfing offshore swells, a larger mast can work well.

The Fuselage

The fuselage, on the other hand, provides maneuverability or stability. The shorter the fuselage, the closer the lifting surfaces (front wing and stabilizer) are, resulting in increased maneuverability. In this case, it suits a more agile and dynamic style of riding. Conversely, a longer fuselage moves the lifting surfaces apart, providing stability at higher speeds (ideal for surfing bigger waves where the focus is primarily on controlling a straight trajectory rather than carving).

The Stabilizer

Finally, the stabilizer will allow you to fine-tune the settings of the front wing. A stabilizer with a small span will bring dynamism to your practice. An elongated stabilizer will provide stability and lift.

The Board

The volume (liters) and length of the board have a significant influence on the accessibility of catching a wave while surf foiling. It is important to maintain some length and volume for beginners. We recommend starting with a board around 40 liters. Boards that are less than 5 feet in length are also a good choice for better pumping ability.

Getting started with Lost In The Swell

For the non-connoisseurs, LOST IN THE SWELL is a group of friends who are avid surfers. They decided to venture into the world of surf foiling. We have been following their progress and collecting their feedback!

Spot selection and first waves

It’s true that at the beginning, as a surfer at least, it’s not easy to recognize good waves for foiling. In general, it’s the opposite of traditional surfing: the smaller and mellower the wave, the better it is for starting out.

We started behind a boat, as it’s simpler to get the first sensations with a boat, similar to wakeboarding with a handle. There’s no wave to manage, and at least you can feel the take-off, with a slightly gentler landing.

When choosing a spot, it’s important to stay as far away from surfers as possible and look for mellow waves. The entry into the wave should be facing the beach, rather than angling across it. In fact, you need to relearn a few concepts. The idea is to take off and then turn, rather than trying to catch the wave at an angle, like in traditional surfing, and immediately standing up.

Avoid the mistake of trying to surf small waves that break close to the shore and don’t have water after them. The goal is to find a small wave that breaks and has a channel or an area with water where you can ride the foam and stand up. Once you’re up, you’re good to go.

Of course, start your initial sessions on small, flat waves. Don’t begin when the waves are hollow and pitching. Ideally, find a spot with long, rolling waves, which will give you plenty of time to adjust your foot position and understand how the foil reacts.

Takeoff and foot Placement

For the takeoff in surf foiling, we tend to rely on the instinct of angling the board when catching a wave, as we do in traditional surfing. However, it doesn’t work the same way in surf foiling.

What we recommend is focusing on the takeoff by catching the wave facing the beach and perpendicular to the wave. The foil will then try to lift off like an airplane wing. The key is to really press the board against the face of the wave.

When performing your takeoff, to straighten up, you’ll need to stand up with your front foot, and maybe even exaggerate by placing it more forward than usual. It’s different from the usual surfer stance. In fact, for beginners, it may be beneficial to have the front foot wider apart than normal to press the foil against the wave, lift it off, and then re-engage it.

At this stage, don’t focus on turning and riding the wave left or right, but rather practice by going straight towards the beach. When you start, it’s like in traditional surfing, you need to let yourself be carried by the foam, stand up, straighten up, and then lighten the board. Don’t try to stand up when the foil is already lifted, as it becomes very technical.

As you progress and gain some control over entering the waves and the initial flights, you can then start turning to catch the face of the wave.

Arm movements and carving

When the foil decides to do its own thing, it’s important not to counter it. For example, if you want to go left and the foil is taking a trajectory towards the right, the instinct of a surfer is to apply pressure and counteract to bring the board back under oneself or into a better trajectory. However, in foiling, if you do that by pressing down, the foil will continue to accelerate in the direction you don’t want to go, and that’s often when a fall can occur. This is truly the most important safety instruction. So, as soon as the foil starts veering in the opposite direction of what you’re trying to do, it’s better to throw yourself in the opposite direction of the foil.

Once you’re well underway, with your toes properly positioned, your arms and gaze in place, you can start attempting to carve. It’s similar to surfing, but there’s no room for error – you really need to focus. As always, it starts with your mind; send your head in the direction you want to go, open up your upper body with your arms, and the rest will follow smoothly. Don’t exaggerate the movement too much, as there’s a risk of falling onto the foil.

Pumping

Pumping foil involves flying on a board equipped with a hydrofoil solely using leg power. Pumping foil can be done on flat water (starting from a pontoon or being launched by a cable) or in surf foiling (as a means of transition between two waves). In any case, it is a highly demanding technical exercise in terms of cardiovascular fitness.

With pumping, the goal is to optimize flow and glide. It is important to perform the movement correctly, even if it means going slower, rather than seeking speed through improper pumping technique (specific article).

The key is to be light, allowing the foil to rise and descend on its own, generating acceleration. You need to give an impulse on the rear leg to lift the nose of the board and transfer weight onto the front leg to provide lift to the foil and maintain or achieve flight. It’s not like in surfing where you paddle, lighten up, and descend into the wave with force. Instead, it’s a sequence of pumping, gliding, lightening, gliding, and so on

Added to cart!
  • No products in the cart.

Features

Size chart